MOTION SYSTEMS FOR
INDUSTRIAL OPTICAL INSPECTION
INDUSTRIAL OPTICAL INSPECTION
For Industrial Optical inspection you need nanometer resolution with fast step- and-settle, all in a flexible configuration. With the assistance of our suppliers, Nanor can together design and build a solution based on your needs.
Optical inspection systems used in industrial environments need to provide reliable and repeatable measurement results with high throughput rates. To achieve this, a flexible positioning system needs to be used where the movement of the workpiece, specimen or test specimen, and the positioning of the imaging optics in are important variables taken into consideration when moving the sample in the plane along desired travel ranges and the optical components in the vertical direction.
Positioning Systems Highlights
- Flexible Configuration
- Position sensors with High-resolution
- Nanometer precision
- High repeatability
- Auto-focus algorithms for measuring
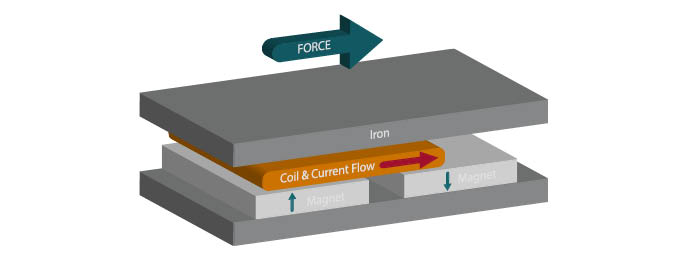
- PIMag® Motors – Enabling flexible adaptation to the required performance characteristics
- EtherCAT® Interface – Easy integration into industrial automation environment
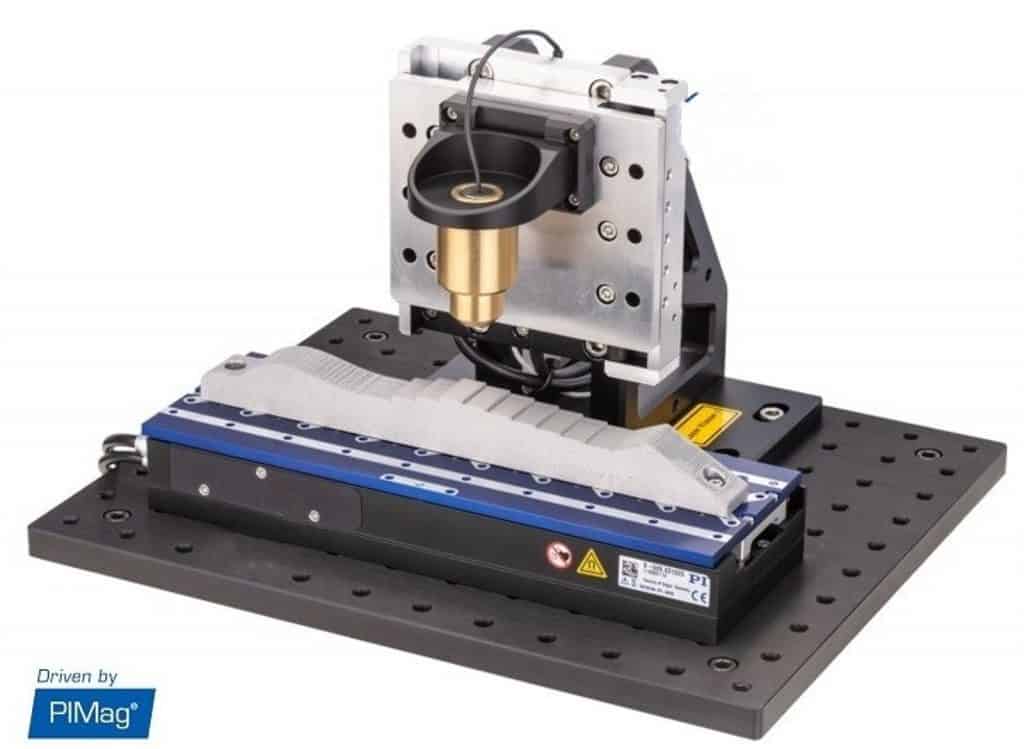
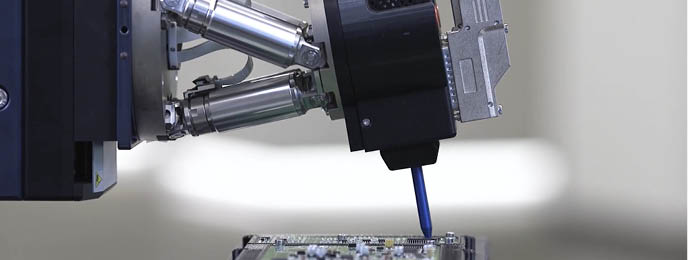
1. Positioning of the Optics
- Magnetic plunger coil drive enabling high scanning speed and fast step-and-settle
- Flexible lens masses is applicable with adjustable weight compensation
- Direct-measuring position sensors with high-resolution
- PIMag® voice coil motors offers flexible adaptation of drive force and dimensions
- Product example: V-308 PIFOC Focus Drive
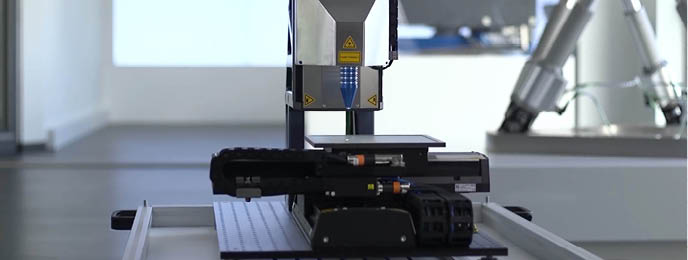
2. Positioning of Sample
- Magnetic linear motors enables high scanning speeds
- Flexible travel ranges with configurable serial axis combination on the sample level or integrated XY stages for a more compact design
- PIMag® linear motors offers flexible adaptation of drive force and dimensions
- Direct-measuring position sensors with high-resolution
- Product example: V-508 PIMag® Precision Linear Stage
Motion Controller
- Industrial EtherCAT® interface
- Optimized control algorithms with a digital controller for constant scanning speed, high repeatability, and fast step-and-settle
- Fast sensor signal processing for simultaneous high speeds with high resolution
- External control signals enabled with optional analog inputs
Related Pages
* This page is a rendition from our Supplier, Physik Insturmente GmbH, Industrial Optical Inspection page.
The applications above are example of stages combined to achieve a desired solution. Possibilities to customize stages are endless and depending on your need, please find products examples below which could be part of your laser processing solution.
L-417 Linear Stage
High-load linear stage
- Travel range to 813 mm
- Precision recirculating ball bearings
- Load capacity to 450 N
- Side seal and air purge
- Optional holding brake
>> Read more
A-63x Rotation Stage
Low-Profile Air Bearing Stage
- 200 mm or 300 mm motion platform
- Low profile, 60 mm
- Eccentricity and flatness < 100 nm
- Bidirectional repeatability ± 2 µrad
- Magnetic preload self-locking rest option
>> Read more
V-738 XY Stage
High-Precision XY Stage
- Travel range 102 mm × 102 mm (4”)
- Large aperture, 150 mm × 150 mm
- Bidirectional repeatability to ± 0.25 μm
- Velocity to 500 mm/s
- Incremental linear encoder with 1 nm resolution
>> Read more
A-322 Planar System
Planar Scanner with Air Bearing
- Travel ranges to 500 mm × 1000 mm
- Load capacity to 245 N
- Resolution to 1 nm
- Bidirectional repeatability ± 0.08 μm
- Velocity up to 2 m/s
>> Read more
Learn more about our Solutions?
We are here to help!
We are here to help!

